

Every image you upload to your website has a file size. The bigger that size, the longer your page takes to load — and slow pages lose visitors before they've read a word. Resizing and compressing images before you upload them is one of the simplest things you can do to keep your site fast. It costs nothing, takes under a minute, and makes a real difference to how your site performs — both for visitors and in search results.
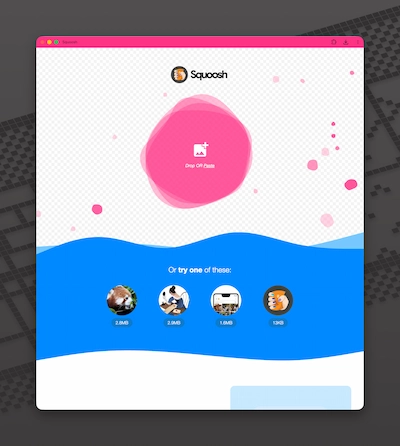 Click in the pink area and choose your image
Step 02
Choose your image
A dialogue box pops up, navigate to your image and hit Open
 Click open here
Step 03
Resize your image
Make sure you’ve worked out how big you want your image to be on the web page.
 Enter required image width
Step 04
Choose your image format
WebP is the standard google image format.
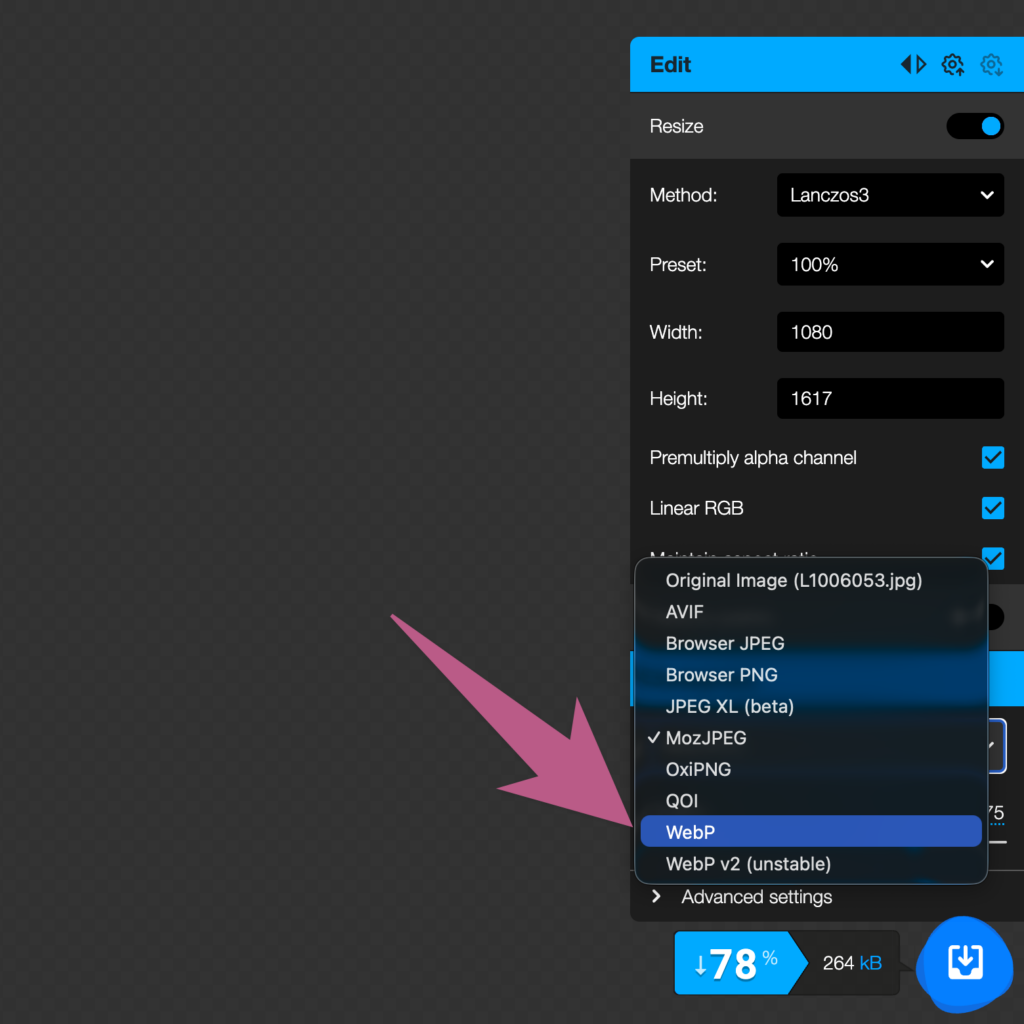 Choose webP format
Was this useful?
If I built or manage your site, I’ll do this kind of thing for you in 30 seconds — just message me. Otherwise, hopefully the note above saves you ten minutes.
More about what I do →
